

Introduction: Why Standing Seam Metal Roofs Are Suitable for Solar Panels
A standing seam metal roof provides a number of advantages to install a solar system. The most obvious is that the joints between the sheets of metal sit up above the plane of the rest of the roof. Therefore it is possible to design a clamp that fits around the standing seam joint and thus provides fixing points for solar panels without the need for new drilled holes in the roof. Of course, new penetration points for cable entry within the building may still be required. Fewer roof penetrations reduce the opportunities for new leaks.
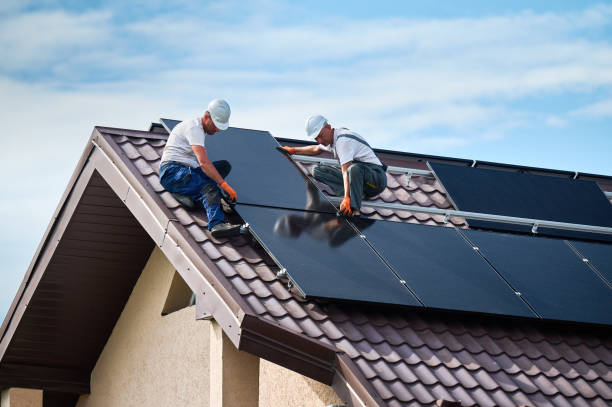
Why Choose a Standing Seam Metal Roof for Solar Installation?
Non-Penetrating Installation
A simple clamp on a standing seam roof closes around the raised joint(s) between individual roof cover sheet(s). The clamp must be compatible with the specific roof. Separate cable entries may still require weatherproof penetrations.
Easy and Efficient Installation
This is because there are fewer holes that need to be drilled and sealed at the mounting points of a solar assembly, which is particularly important for a factory or warehouse style roof.
Long-Term Roof Protection
However, a metal roof sheet is a very long thin strip of metal that expands and contracts with temperature. So in order to allow for this movement and stop pulling on the metal roof clips that normally allow for this movement, the choice of standing seam roof clamp and its location on the roof is very important.
What Components Do You Need to Mount Solar Panels on a Standing Seam Roof?
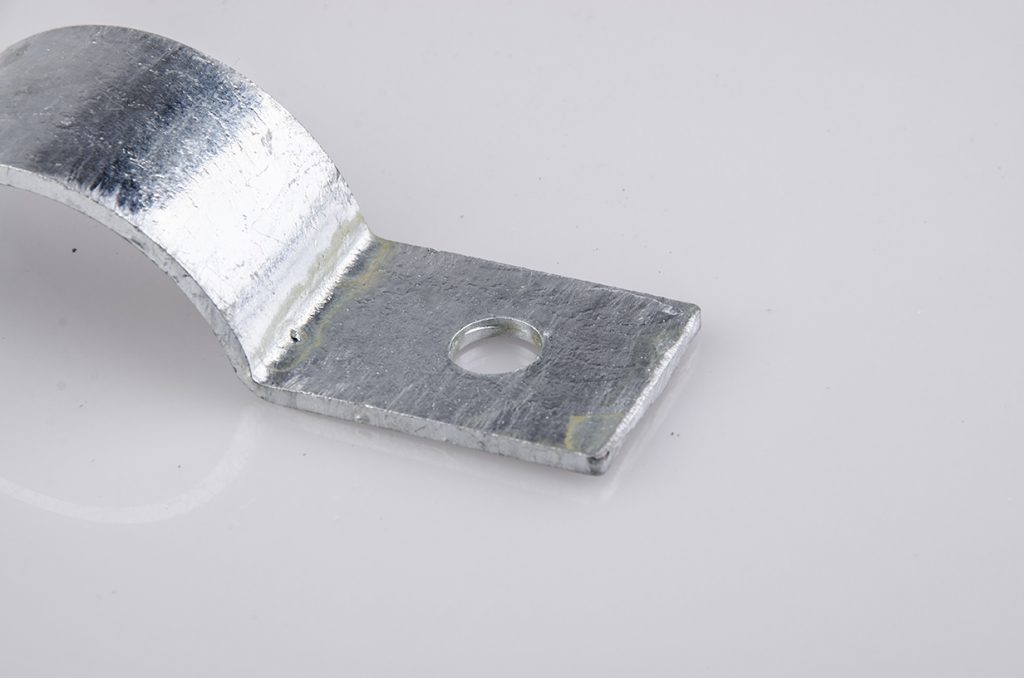
Standing Seam Roof Clamps
A label saying “metal roof clamp” is not a specification for a standing seam solar clamp. You will need to confirm the shape and dimensions of your metal roof’s standing seam to select the correct clamp.
Solar Mounting Rails
Rails support and position modules above roof clamps. Some approved systems provide direct attachment of modules without rails.
Solar Panel Mid Clamps and End Clamps
A mid clamp is used between modules and end clamps are used at the ends of the modules. The frame of the modules must be matched with the appropriate 태양 전지판 클램프 to attach to the solar mounting rails.
Bolts, Nuts and Other Accessories
In addition to selecting the appropriate roof clamps for your metal roof, consider what additional solar accessories (bolts, nuts, bonding, cable retainers, etc.) are required to complete your solar panel mounting system.
How to Mount Solar Panels on a Standing Seam Metal Roof: Step-by-Step Guide
Step 1 – Inspect the Metal Roof and Identify the Seam Profile
Conduct a thorough inspection for corrosion, crushed and damaged metal sections. Record if the roof has a snap-lock seam or mechanically seamed seams and note the height, width and spacing of the roof’s seams. Record the type of panel and thickness of the panel material as well as any concealed clips. Make sure all defects have been repaired prior to installation and complete a full structural assessment of the roof and building to confirm it can carry the loads of the proposed solar installation.
Step 2 – Select the Right Standing Seam Solar Clamps
Make sure your supplier can provide the test data for the roof seams, materials and thicknesses you have identified. We are looking for the allowable design load for your particular roof, not the failure load of the sample. Seams that look very similar may require different clamps, so it’s wise to get a drawing or sample of the unknown roof to ensure you order the correct items.
Step 3 – Plan the Solar Panel Layout and Mounting Positions
Plan the Solar Panels to ensure that the seams and all obstructions (such as rooflights) are taken into account when planning the best position for each panel attachment point. The wind loading and snow loading of the panels also need to be taken into account. The calculations must account for roof edge and corner zones. Areas where maintenance access is required also need to be taken into account and suitable routes around the array created. Check setbacks, rail spans, module clamping zones and concealed clip locations too.
Step 4 – Install the Standing Seam Roof Clamps
Clamps should be installed in safe conditions with appropriate fall protection. Be sure to follow the manufacturer’s instructions for the appropriate installation and ensure that all seats are fully engaged prior to tightening with the calibrated torque tool to the recommended setting for that clamp on that type of roof. Overtightening can damage the seam. It is wise to check the location of any concealed clips as well as allow for roof movement prior to moving to the next seat location.
Step 5 – Attach Mounting Rails and Solar Panels
Install the solar panel mounting rails or approved mounting structures to the roof clamps and check their alignment and height. Install the solar panels on top of the structure and allow for any necessary expansion gaps. Check that mid clamps and end clamps are located within the module manufacturer’s permitted clamping zones. Ensure that all connections are tightened up to the specified torque setting as outlined within the detailed installation requirements for that roof. Check the frame engagement and that the module spacing has been adhered to.
Step 6 – Perform Final Inspection and Safety Checks
Check clamps and fasteners. Qualified personnel must verify grounding, bonding and electrical work. Keep cables clear of sharp edges and drainage. Check for damage, remove debris and retain torque records, photographs and acceptance documents.
Important Considerations When Installing Solar Panels on Standing Seam Roofs
Roof Compatibility
Match seam geometry, material, thickness, coating and metal compatibility.
Wind and Snow Load Requirements
Verify loads through clamps, rails, roof panels, concealed clips and structure. Calculate spacing for this project.
Thermal Expansion and Contraction
Preserve roof movement around concealed clips and allow rail expansion.
Roof Waterproofing and Warranty
Follow roof installation and warranty requirements; flash and seal necessary cable penetrations.
Common Mistakes to Avoid During Solar Roof Installation
Incompatible clamps.
Wrong spacing or torque.
Ignored wind and snow loads.
Restricted roof movement.
Missed structural and roof checks.
Confused module and seam clamps.
Inspect and design before installation.
How CZT Solar Supports Reliable Rooftop Solar Mounting Solutions
Comprehensive Solar Mounting Products
CZT Solar supplies rooftop systems, aluminum alloy module clamps, steel structural parts and accessories.
Customized Manufacturing Capabilities
Submit drawings for custom metal components, manufactured using cold forming, cutting, punching and bending.
One-Stop Solar Mounting Solutions
Metal roof solar mounting requires compatible clamps, structural design and careful installation. Contact CZT Solar for mounting and customized components.
Coordinate development, production, sales and project service through one supplier. Request a quotation.
Frequently Asked Questions
Q1: Can solar panels be installed on a standing seam metal roof without drilling holes?
Yes, with compatible clamps; cable entries may differ.
Q2: Do all standing seam metal roofs use the same solar mounting clamps?
No. Match seam shape, size, material and roof construction.
Q3: Will installing solar panels damage a standing seam metal roof?
Correct installation reduces risk. Follow roof installation and warranty requirements.







 Korean
 English
 Japanese
 Spanish
 Arabic
 Russian
 French
 Thai